-1.jpg?width=1200&height=525&name=DAKE003_%20Logos_Red%20(002)-1.jpg "dake corp")
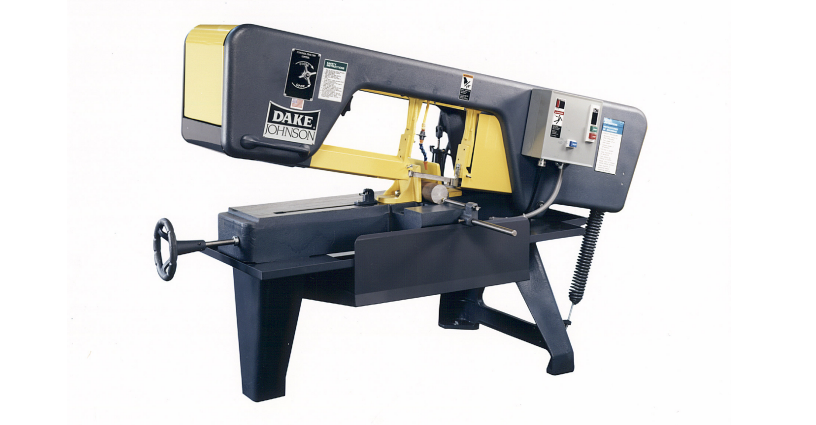
As we share this step-by-step guide on how to change a blade on a horizontal Johnson bandsaw, please keep in mind to always use care when removing and installing blades, be sure to wear heavy gloves when handling the blade, and watch out for hydraulic and coolant lines that could be damaged from the blade.
Ok, put on your gloves and safety glasses like we all have been taught in old school shop class.
- Start by raising the cutting head up about halfway and remove the four thumb screws that hold the top cover in place. Carefully swing the covers in an open position. This will allow access to the remaining guards that must be removed.
- Loosen the thumb screws and remove the half-moon drip pan that is located on the far-right side (gear box end) of the saw's cutting head.
- Remove the idle wheel and drive wheel covers.
- Remove the thumb screws that hold on the left and right guide arm blade guards. The right-handed guard may look a little like a sail boat.
- Put all the guards in a safe place to prevent damage or losing them.
- Carefully remove the chip brushes from their holder. Take care as you will be removing the chip brushes from around the blade. Both blade and brushes are sharp!
- Loosen the blade by turning the tensioning handwheel counter clockwise.
- Always wear heavy gloves when removing the blade! Pull the blade out of the rear blade guard. This is the long yellow guard mounted to the back of the cutting head frame.
- Push the blade downward and remove from around the idle wheel (wheel on left side, without the gear box.) Then, remove the blade from the blade guides (pushing down on the blade will allow for this removal.)
- Grasp the blade in the area of the rear blade guard and slip the blade off of the drive wheel (right side with gear box.)
- Once the blade is free, hold the blade together in the middle and remove it from the left side of the saw.
- Take the used blade and either coil it up or safely dispose of it in a safe manner.
- Carefully uncoil the new blade. Never toss the blade on the ground to uncoil it. A coiled blade is like an angry snake and can hurt you severely if care is not taken un-coiling them.
- With the blade uncoiled, grasp it in the middle creating loops on both ends or a figure 8.
- With the teeth in the right direction and pointing down, carefully place the blade under the cutting head and loop one end around the drive wheel on the right side. Next, place the blade into the rear blade guard on the back head frame.
- Feed the blade into the blade guides and loop the left side of the blade onto the idle wheel.
- Double check to make sure the blade is seated up to the lip of both the wheels but not on the lip. Check to see that the blade within the guides are straight and up to the upper guide bearing. If blade is the same thickness, no adjustment is needed.
- Hold the blade to make sure it doesn’t slip off the wheel and tighten the blade tensioning screw. The blade tension screw should have tightened as tight as possible by hand.
- Re-adjust blade guides if needed. Carefully jog the saw with the start stop buttons and with the saw off. Check to make sure blade does not walk off the wheels or guides. If blade moves a great deal on the wheels, a tracking adjustment will be required.
- Re-install ALL guarding that was removed and chip brushes. Never operate saw without all the guards in place.
- Close the top covers and install thumb screws.