-1.jpg?width=1200&height=525&name=DAKE003_%20Logos_Red%20(002)-1.jpg "dake corp")

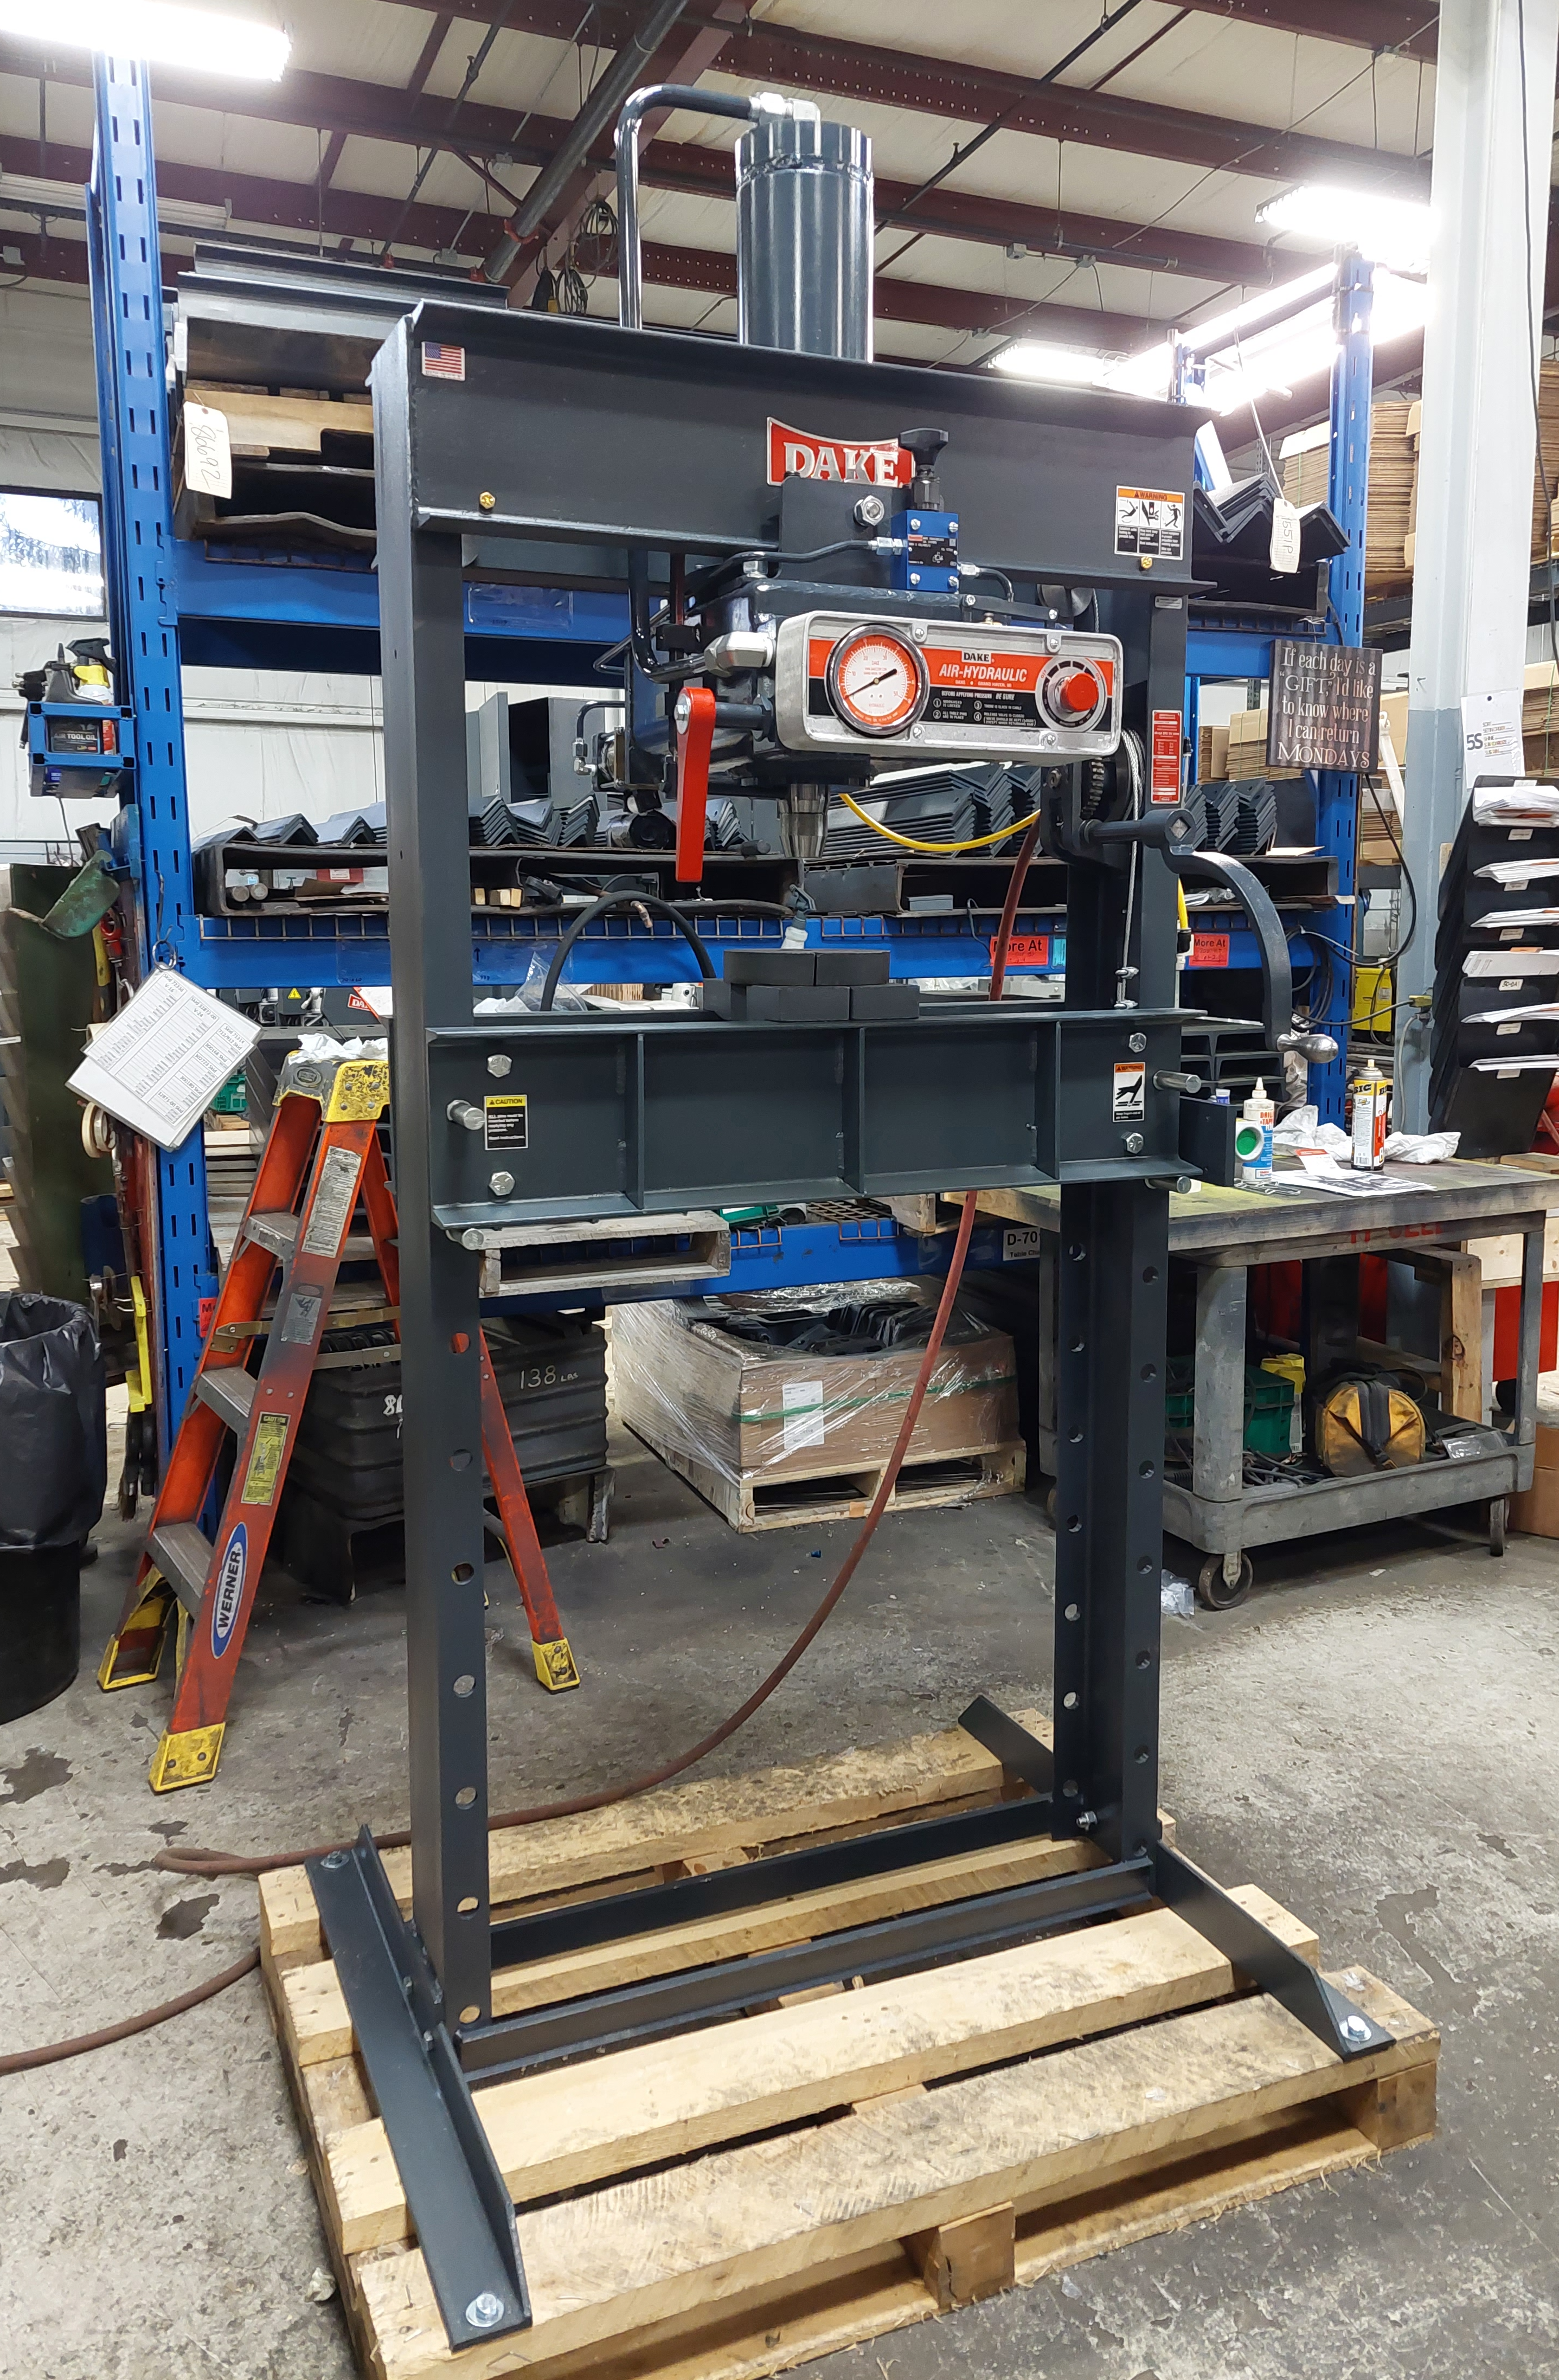
Today, as promised, here is part four in the series “Dake presses: set up, trouble shooting and maintenance.” The press we are going to be discussing is our burliest press yet: the double acting Elec-Draulic II series. This muscular press has a self-contained workhead design that is double acting. And what does double acting mean? Power down (pressing force) and power up (pulling force, no return springs.) In my 50 years at Dake I have not found a press beefier and as trouble free. The controls give you plenty of smooth efficient pressure or pulling power with joystick operation. It’s time to get this monster set up and ready to roll. Let’s Git'er done!
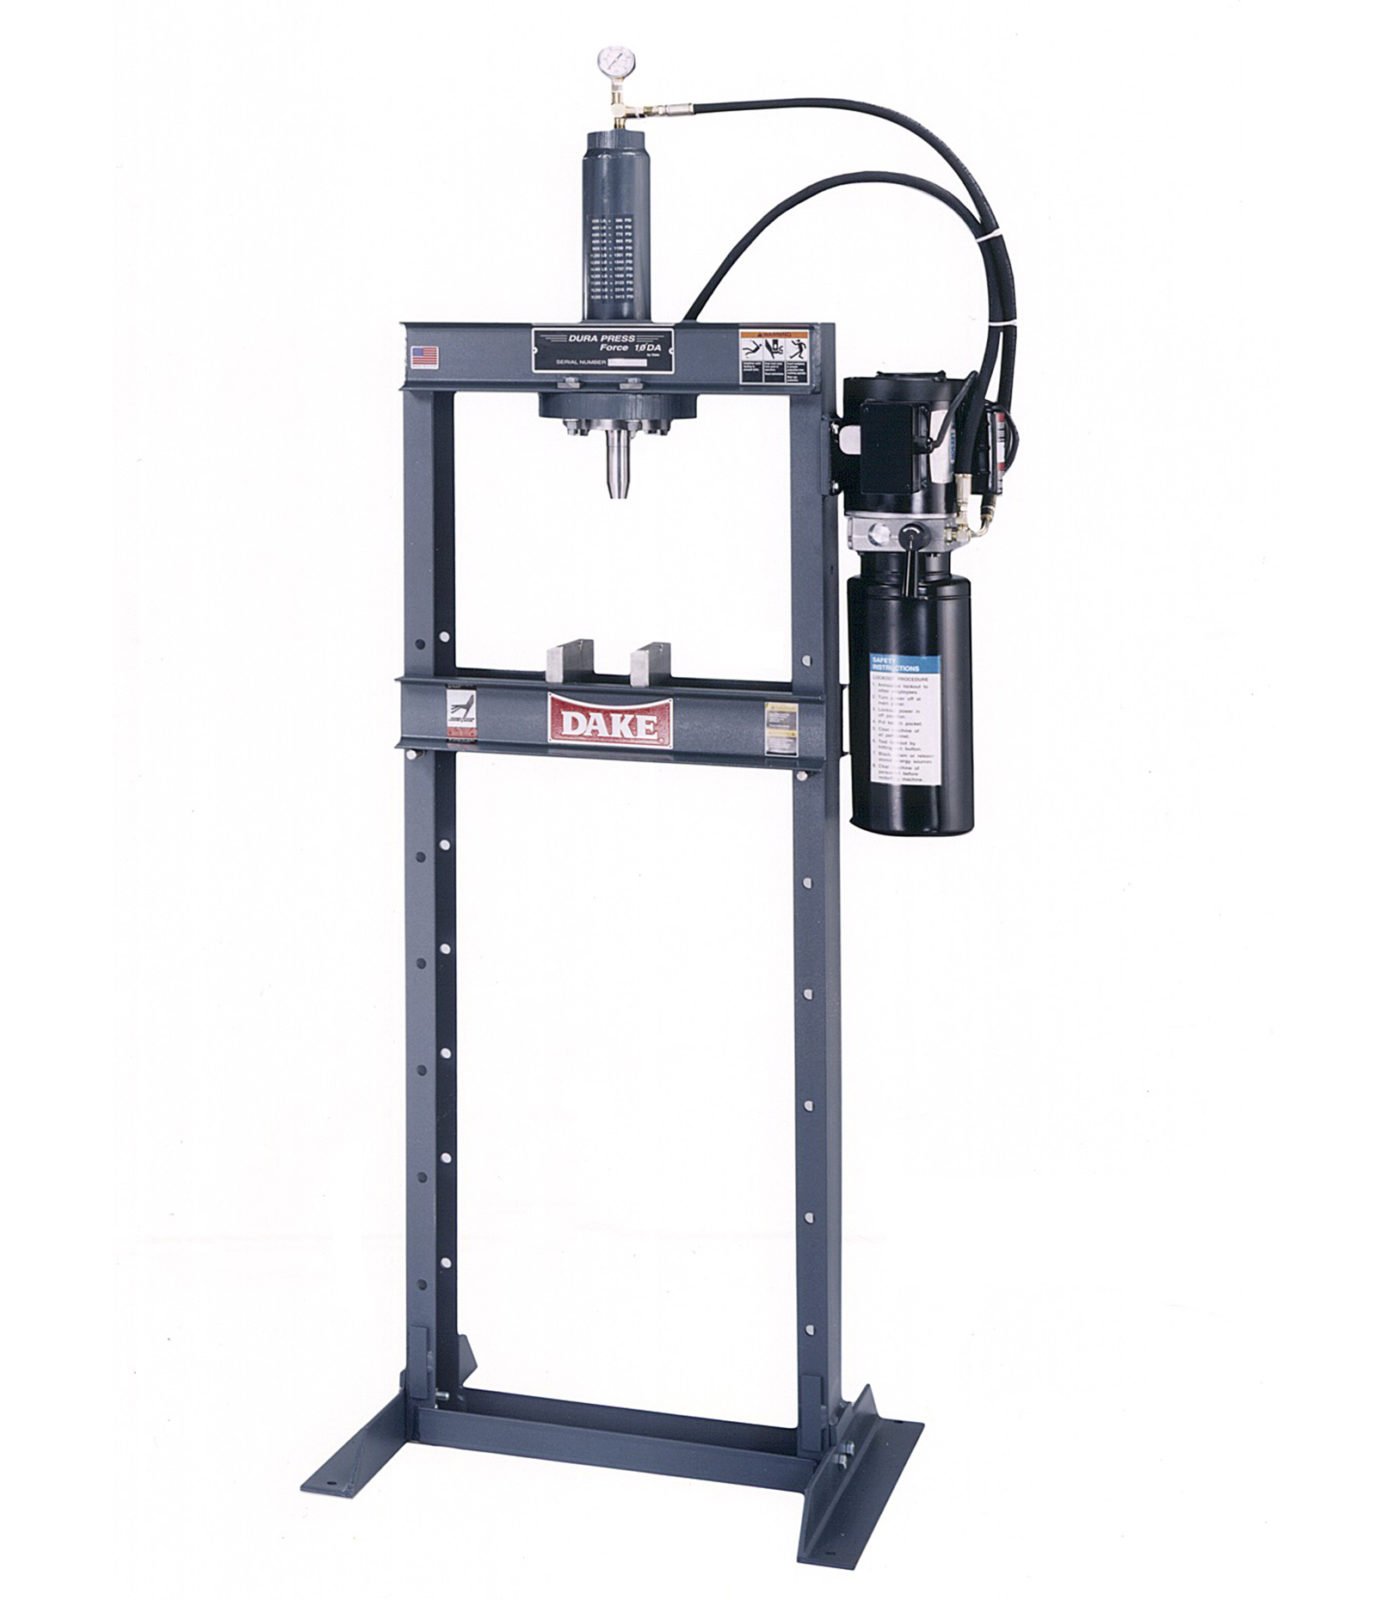
DAKE ELEC-DRAULIC II PRESSES (All tonnages)
SETTING UP THE PRESS FOR OPERATION
For shipping convenience, some of the parts are not assembled. Assemble these parts in the following order:
- Bolt the base angles to uprights using four bolts and nuts, which are provided. Make sure base angles are against stops on uprights.
NOTE: The press should set on a level floor with the base angles touching the floor at all points. Use shims where necessary.
- Switch box is mounted on left upright. Have electrician connect switch to power line. Pump can rotate in either direction.
- Oil Requirements: Fill reservoir thru street elbow at back of press with Mobil DTE oil No. 24 or equivalent.
Model 8-025 uses 3 gallons
Model 8-050 uses 3 gallons
Model 8-075 uses 3 gallons
Model 8-150 uses 10 gallons
- Attach nose piece to ram by inserting shank into ram and tightening the set screw.
TROUBLE SHOOTING
CAUTION: When disconnecting any parts of this machine be extremely careful that all parts are clean to prevent entrance of dirt in the hydraulic system.
For trouble shooting and repair please refer to your owner’s manual for details on SYMPTOM CAUSE SOLUTION. This will save you time and keep you safe when making repairs.
Coming up in the next few weeks in our series we look at AIR POWERED hydraulic presses.
All the presses we have covered in this series wear the colors of made in the U.S.A.
Until next time, check out the details of this press on our website.
.jpg)