-1.jpg?width=1200&height=525&name=DAKE003_%20Logos_Red%20(002)-1.jpg "dake corp")
Here at Dake, we offer two types of drill presses to cover all of your drilling needs – bench models and floor models. With two bench models and four floor models to choose from, you can find the right drill press to match your metalworking shop requirements.
Drill presses are used to create cylindrical holes in a piece of metal. They are also commonly used for the same purpose on various pieces of materials including wood and plastic. With a drill press, the primary operation is, of course, drilling.
However, other operations can be performed with one of these versatile machines. These include counterboring, countersinking, reaming, and tapping.
In this post, we cover each operation and go over the types of holes you can expect to make with our machines.
Anatomy of a Drill Press
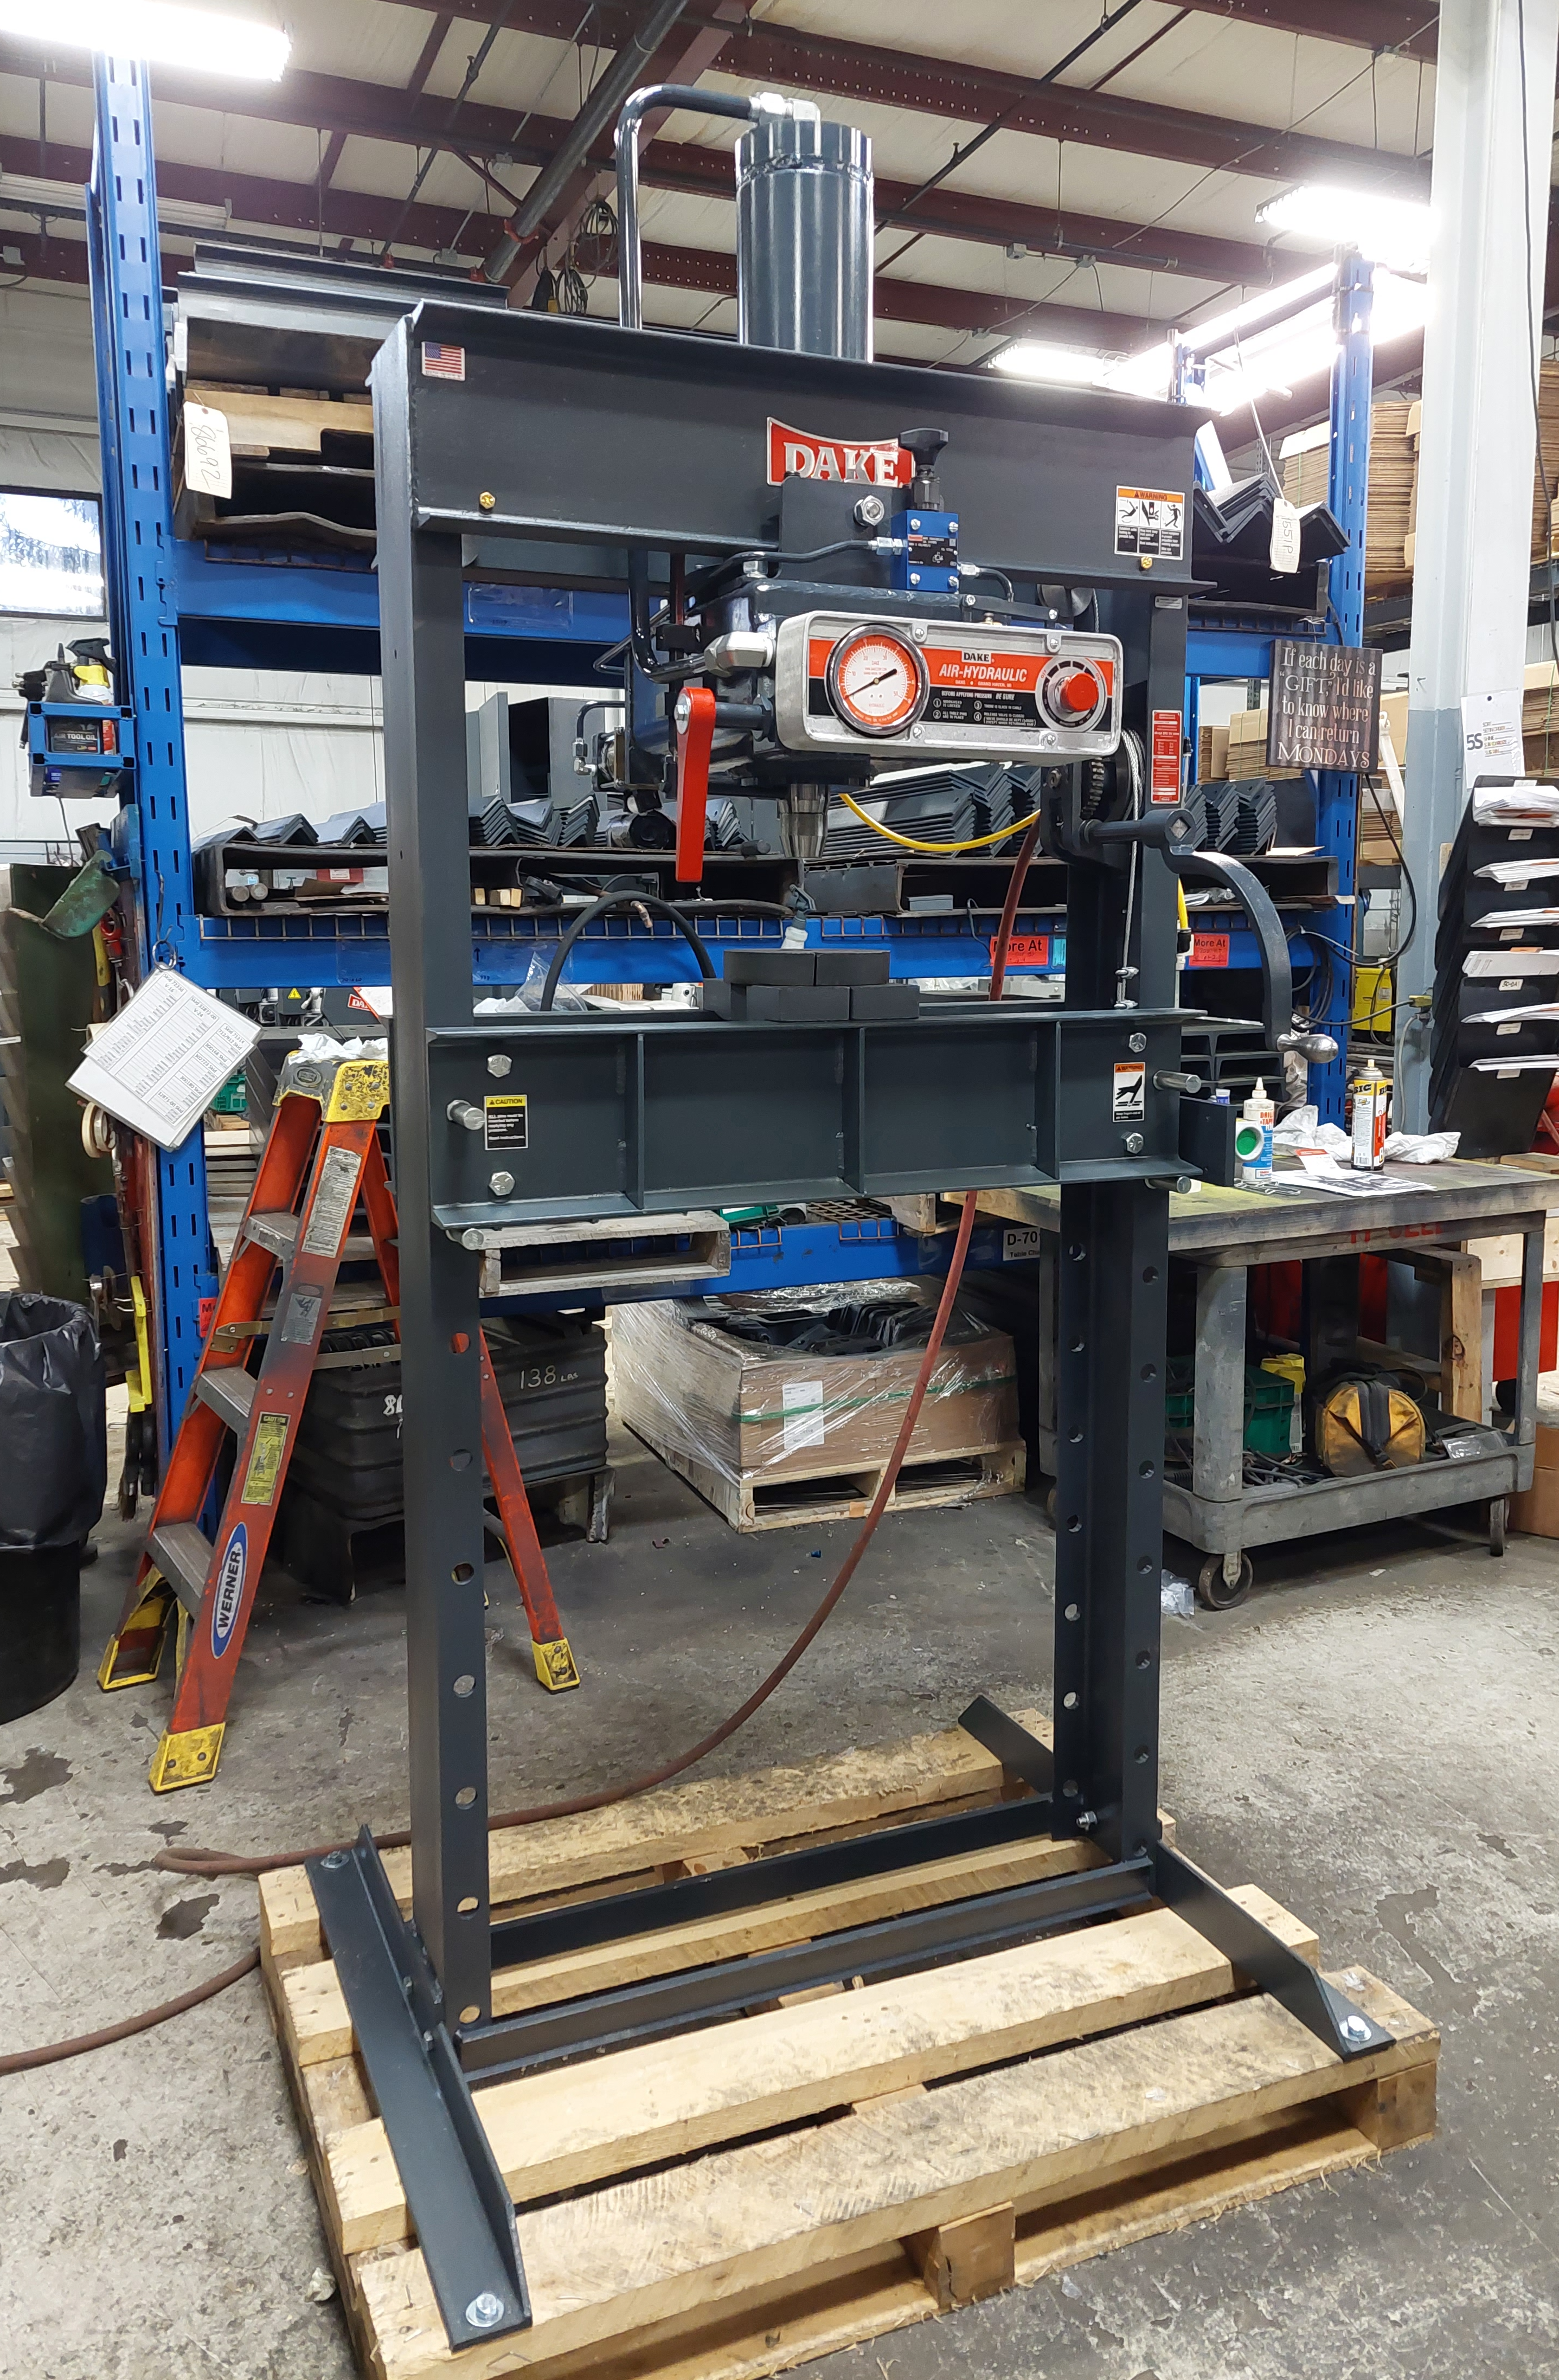
Before we jump into the operations that can be performed with a drill press, it’s important to understand the anatomy of a machine. The most common drill press is the floor model. It is typically seen in home and industrial workshops, and it is the type of machine that most apprentices learn on.
The floor model drill press is comprised of four key elements:
- head
- table
- column
- base
Starting from the top, the head is home to several important components including the motor and the variable speed mechanism that is used to move the spindle. You can find the spindle inside the quill, and it can be moved up and down manually or automatically.
Next, the column is the skeleton of the drill press. It connects the head, table, and base together.
The table is also mounted to the column. As an adjustable piece, the operator can move the table up or down to accommodate various metal sizes.
Finally, the base is the main support of the entire machine. Constructed out of cast iron, it provides a stable foundation for all sorts of metalwork.
Operating a Drill Press
The basic steps for using a drill press are relatively simple. Practice these steps regularly in this order so as to produce the highest quality drill holes:
1. Mark the desired location for the hole with an “X”. You may also use a center punch to mark this perfect spot.
2. Choose the appropriate drill bit.
3. Select the center drill size.
4. Choose a cutting fluid to keep the machine cool.
5. Secure the metal material to the drill press table.
6. Choose the correct revolutions per minute (RPM).
7. Use the uninterrupted peck drilling technique for minimal chipping.
8. Keep pilot holes at a strict 3/8” diameter and never drill holes in increments over 1/4”.
9. Clean the machine thoroughly when you’re done.
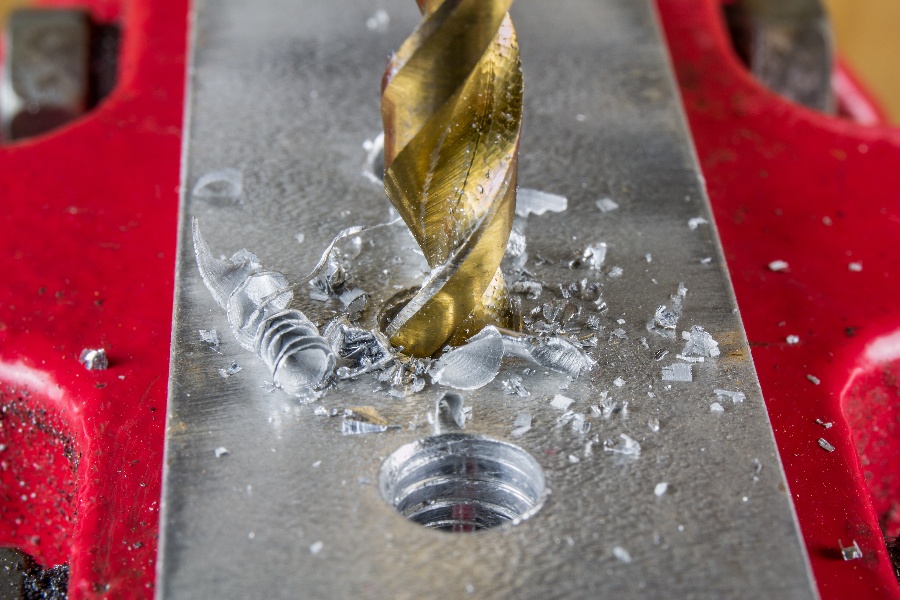
Conventional Twist Drilling
The process of creating cylindrical holes in metal is known as twist drilling. A twist drill bit can be identified by the helical flutes that run along its length. These are designed to move chips away from the holes during the drilling process.
When looking at a twist drill, you may notice its three primary components: shank, body, and point. Located at the top of the twist drill is the shank. It connects the drill bit to the spindle on the machine. Shanks come in two styles: straight and tapered. We recommend tapered shanks because they offer more torque and minimized slippage.
Next, the body of the drill bit is where the flutes are. Generally, there are two flutes that are designed to clear away chips. These are not cutting components.
Finally, the last part of the drill bit is the point. This is where all the cutting happens. Twist drilled holes are usually 1% larger than the drill bit’s diameter.
Counterboring
Described as the process of enlarging a hole along its length, counter-boring is similar to the twist drill bit. It too has a shank and a fluted body. However, the difference is in the cutting component. Counterboring bits do not have a point. Instead, they have a smaller diameter pilot portion.
Here’s how that works: The pilot slips into a pre-drilled hole and is then used as a guide for the counterbore. For this to work, the counterbore should be properly aligned with the hole. Counterboring is most commonly performed for bolts, capscrews, and studs. This is to create a flush surface.
Countersinking
If you need to create a recess below the surface of the piece you’re working on, use the countersinking technique. This recess is called a chamfer and you can get it by adding a cone-shaped enlargement to a hole.
Replacing the drill bit is a conical cutting tool. Once it is properly aligned with the pre-drilling hole, the conical cutter needs to be rotated at 1/3 of the cutting speed that was used to create that hole. Countersinking is best used for creating a flush surface for flat-head fasteners and for deburring.
Reaming
Again, twist drilling creates slightly oversized holes. If you want to produce a hole of a very specific size, then you can do that by reaming. Known as reamers, these cutting tools have a precision tolerance of 0.001. They don’t have much cutting action, so the hole needs to be pre-drilled before the reaming can take place.
We recommend the reaming speed be set at 1/3 of the speed used to drill the pilot hole. Never reverse the reamer or stop the drill press action while the reamer is inside the hole. We do suggest that you remove the reamer occasionally to clear out any chips. This tool doesn’t have any flutes to do that on its own.
Tapping
Another operation that can be performed with a drill press is tapping. Similar to the twist drill bit, the tap tool features flutes. The difference here is that these tapping flutes are used as the cutters.
They also serve a dual purpose since they can remove the chips as well. If you need to make internal threads inside a cylindrical hole, a tap tool is the best way to go.
There are a few different taps to choose from including tapered and plug taps. Tapered taps – sometimes called starting taps – are used to begin the threads. The first six threads are tapered, and then the full thread diameter is made.
The plug tap comes into play after the taper tap is removed. The first three of five threads are tapered and the last tap can be extended through the metal.
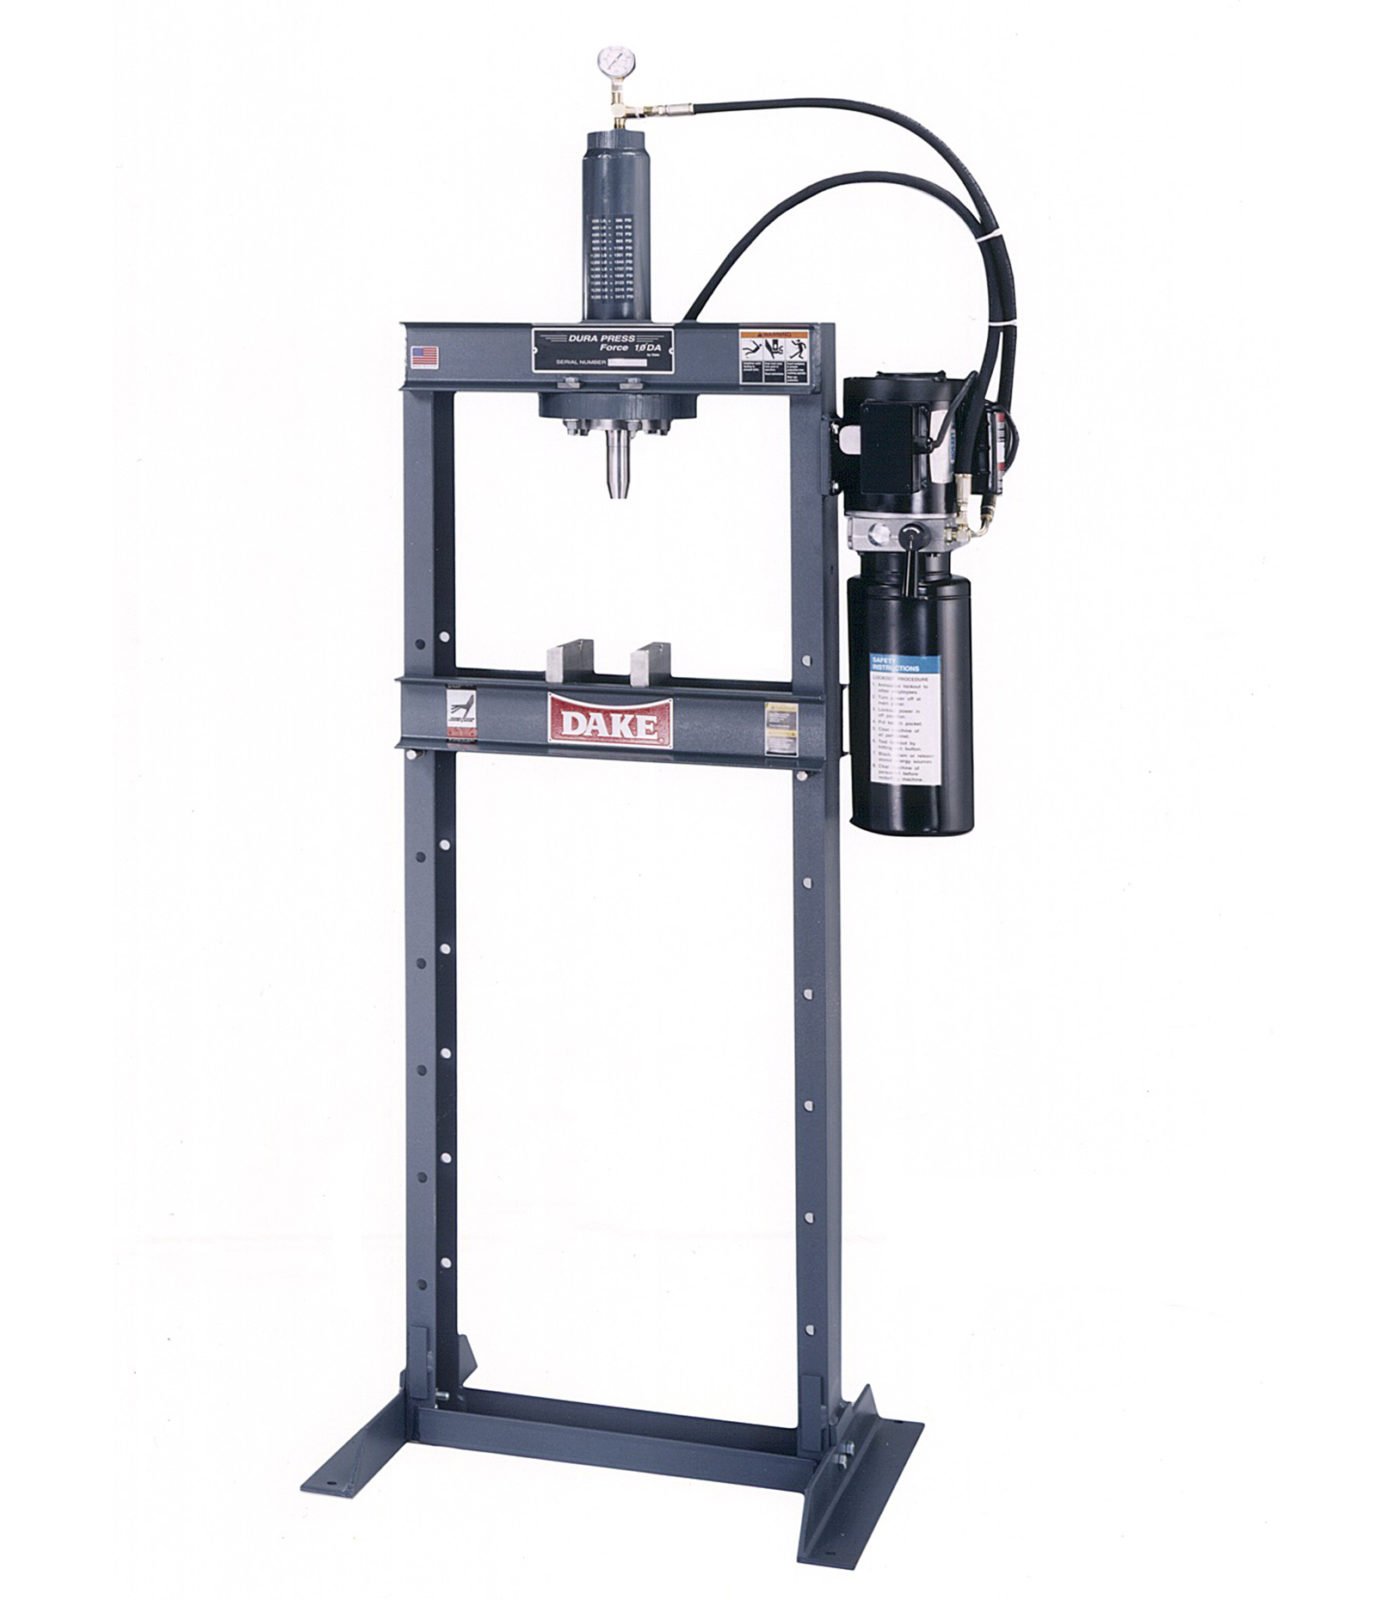
Dake Drill Presses
We offer two bench model drill presses – the TB-16 and TB-16V. They both have a drill bit capacity of 5/8”, and they both feature a plexiglass chip and chuck guard. The standard Morse Taper allows for fast bit changes, and the speed can be adjusted using the quick-release belt.
We have four floor model drill presses available – the SB-16, SB-25V, SB-32V, and SB-250V. The drill capacities range from 5/8” to 1-1/4”, and they each come with the same plexiglass guard.
Every drill press machine from Dake comes with the CE safety electrical package that includes an on/off switch, an interlock belt cover safety switch, and an emergency stop button.
To learn more about our machines, get in touch with our team today.
.jpg)