-1.jpg?width=1200&height=525&name=DAKE003_%20Logos_Red%20(002)-1.jpg "dake corp")
We’re back as promised for part two of the series “Dake presses, set up, trouble shooting and maintenance.” No matter what type of press you have, safety is of the upmost importance, along with optimum performance. Today we cover our Manual H-frame line of presses. Since this is people-powered you want to make sure this press is set up right and tweaked to perfection. Grab a rag and a can of Red Bull and we’ll get this show on the road.
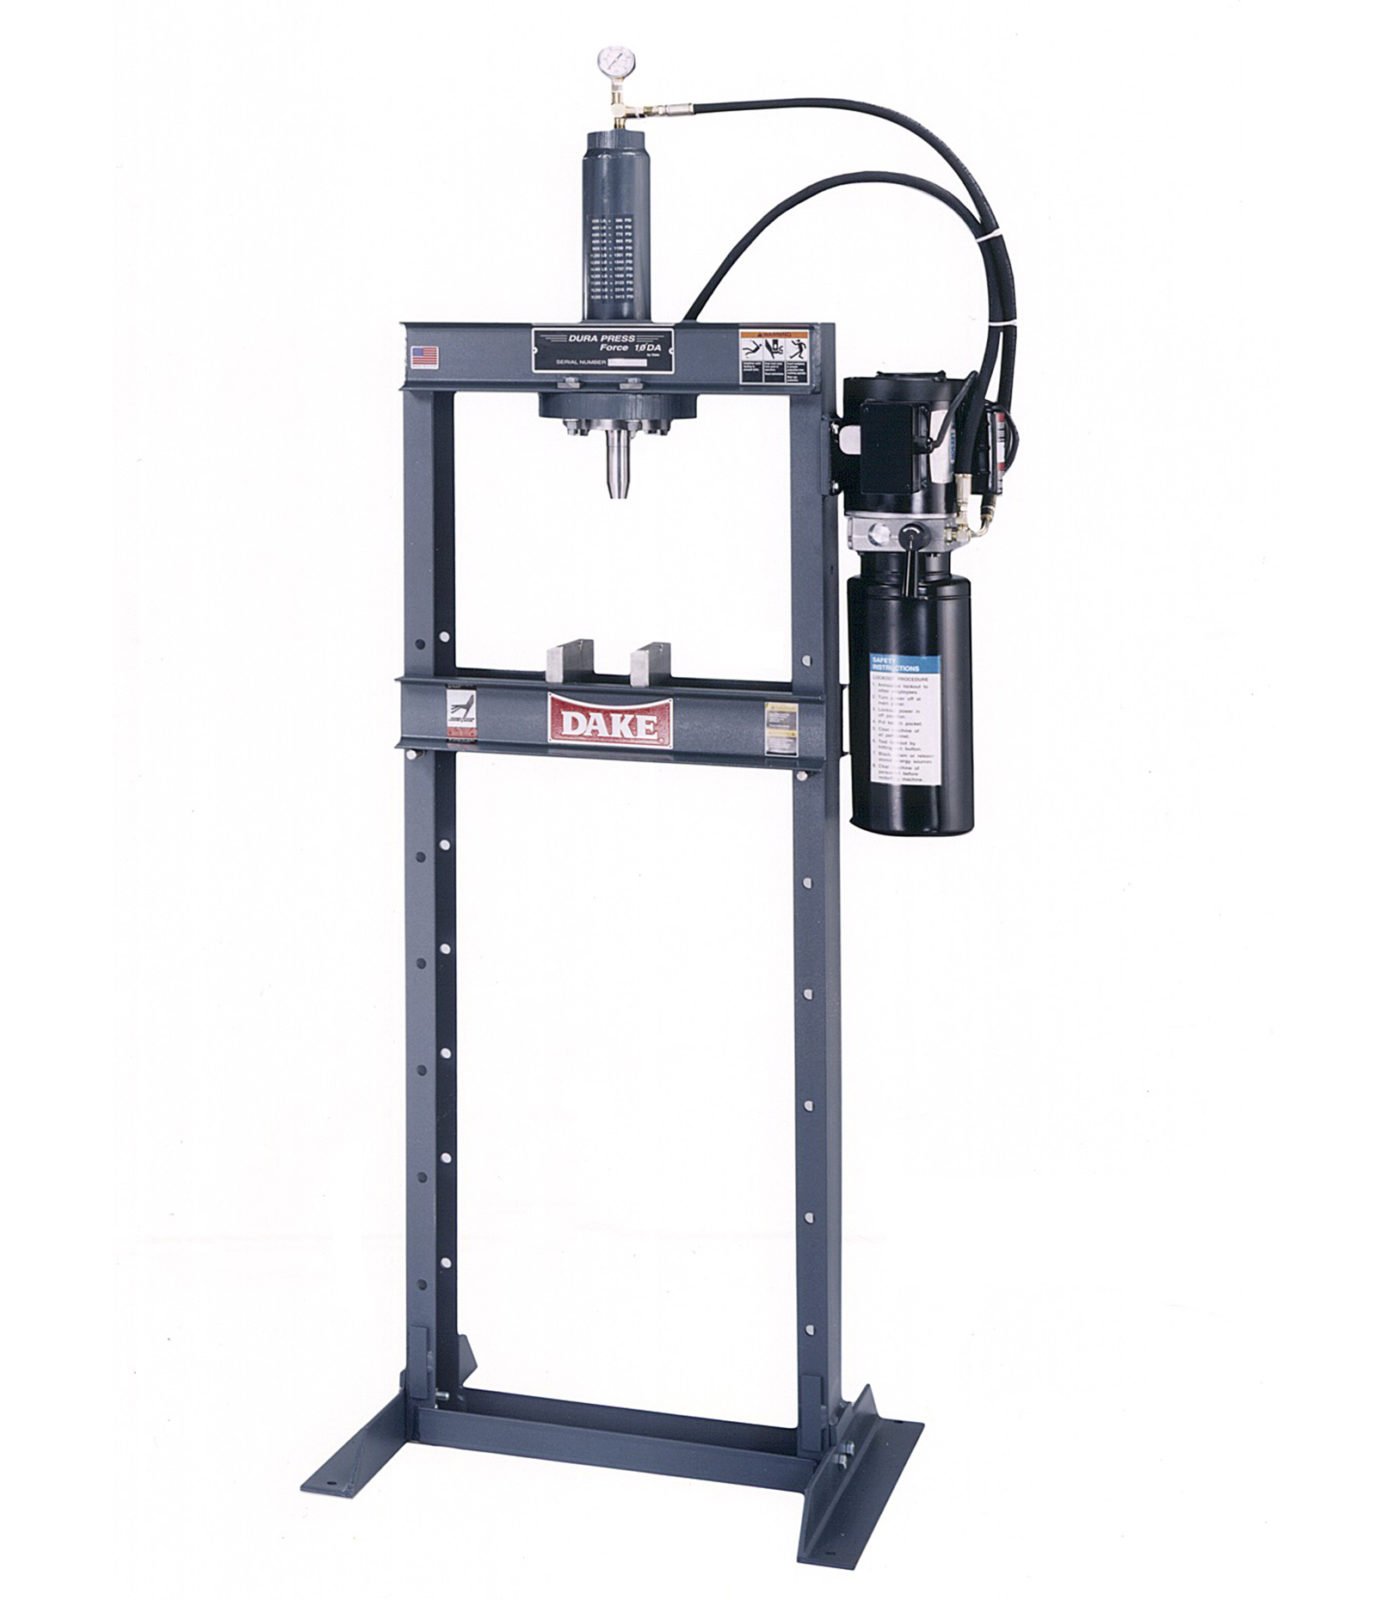
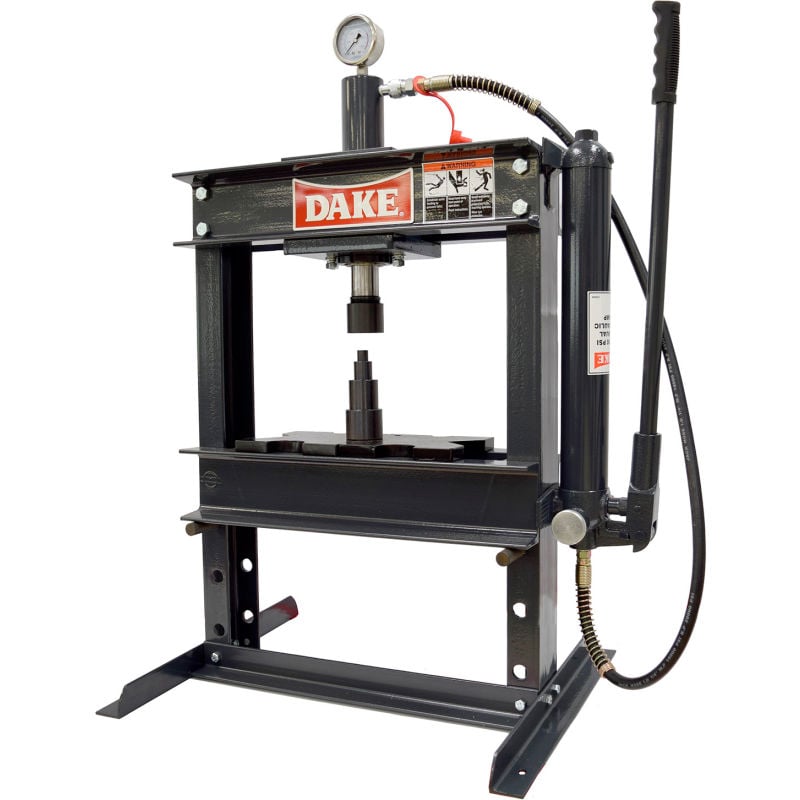
DAKE MANUAL H-FRAME PRESSES (All tonnage)
SETTING UP THE PRESS FOR OPERATION
For shipping convenience, the gauge, pump handle, hoist crank, screw nose and base angles were removed from the press. Assemble these parts to the press in the following order:
- Bolt the base angles to the uprights using the four bolts and nuts furnished. Shoulder the base angles against the stops on the uprights.
- The press should be set on a level floor with the base angles touching the floor at all points, using shims where necessary. Then secure to the floor using 4 each ½” bolts.
- Install the pressure gauge using a hydraulic sealant to ensure a sealed fit.
- Insert pump handle into handle socket and fasten in place by means of the setscrew on top of the handle socket.
- CAUTION! Place the hoist crank on the lift drum shaft. The table is raised to the desired height by turning the crank after removing the table pins. Check to make sure the hoist cable is tracking correctly. Run the table channels from top to bottom. The cable should be on each of the two upper pulleys and should track back and forth on the cable drum. Always place table pins under the table channels before releasing the hoist crank when positioning the table channels for cable tracking, servicing, or set-up for desired work opening. If a tracking problem exists, contact the Dake factory for instructions. Be sure all table pins are fully inserted in place before applying pressure. Always remove or release pressure on the cable before pressure is applied.
- Fasten nosepiece to the end of the ram screw using the thumbscrew included.
FILLING THE PRESS WITH OIL
It is extremely important that new, clean, light hydraulic oil be used in this press, Mobil DTE 24 or an equivalent. It is strongly recommended that the oil be filtered to remove any possible dirt. The piston should be in its maximum upper position when filling the reservoir. Fill the reservoir with recommended quarts of oil. UNDER NO CIRCUMSTANCES USE OLD DIRTY OIL. Next remove the screw plug from the top of the cylinder and fill with oil. Close the release valve hand wheel and pump oil into the work head until oil is visible in the top of the cylinder. This will remove all air from the chamber above the piston. Then install the gauge. If oil leaks by the piston. The reservoir should be drained and refilled with the piston in the top position.
TROUBLE SHOOTING – DAKE HAND HYDRAULIC PRESSES
PUMP PACKING LEAKAGE
If oil leaks past the pump packing, tighten the pump packing nut until pump handle works hard, then slack off just enough to cause the handle to stay in position by itself. After long periods of operation, it may be necessary to install new pump packings.
LUBRICATION
Keep all working parts of the press well-oiled for easier operation. Also keep a light film of oil over the entire surface of the ram to prevent rust.
IF PRESS DOES NOT HOLD PRESSURE
This condition is nearly always caused by dirt under pressure ball valve part number (586). See workhead assembly drawing. To remedy this condition, first remove the reservoir drain plug and drain off all the oil in the reservoir. Next, remove parts, 3/8” pipe plug (588), check valve spring (579) and valve ball (586) then clean out port hole and valve seat thoroughly. Replace and using a small piece of brass rod as a drift, tap the brass rod lightly to seat the ball properly. Replace spring and plug using extreme care to prevent dirt from entering. Replace the drain plug and refill the reservoir with clean filtered oil. If above procedure does not correct the condition, air may be present in the chamber above the piston and should be removed as directed in Filling Press with Oil paragraph.
For SYMPTOM CAUSE SOLUTION chart refer to your owner’s manual or our on-line manuals.
Next time in our series we dig into our electrified version, A.K.A Elec-Draulic I. Until next time, if you have a question or need information on Dake presses we invite you to check out our manual section of our website. https://www.dakecorp.com/manuals
.jpg)