-1.jpg?width=1200&height=525&name=DAKE003_%20Logos_Red%20(002)-1.jpg "dake corp")
In metalworking, machines work hard. Often, you will find that some parts on your metalworking machines may need a little tender loving care.
In this post, our experts here at Dake will take you through how to repair the seal and spring elements on the B-10 Utility Press machine.
Before working with metalworking tools and products, make sure that you bear the safety tips in mind.
Disassembling the Cylinder
The first step to repairing the seal and spring of the B-10 Utility Press is to disassemble the cylinder. You will need to use a 9/16th wrench to remove the gauge, and then use an 11/16th wrench to remove the coupling that attaches to the pump.
Once you do this, you will notice that the cylinder has oil inside. Properly dispose of the used oil to avoid a bigger mess later on.
Next, it’s time to remove the bolt that holds the spring inside the cylinder. You need to use a 3-mm T-wrench for this task. Insert the wrench into the hole and twist until you hear a loud snap. One the bolt comes loose, the tension will be released from the spring.
This will cause the spring to snap down, which will be your audible trigger that the bolt it free. The bolt will fall to the bottom of the cylinder. Don’t worry about retrieving it right now. You will have another opportunity to get the bolt out after a few more steps.
Then, it’s time to remove the piston-retaining ring. Locate the two notches on each side of the retainer.
You can use a regular screwdriver for this step, but be careful not to scratch the cylinder. Inside the screwdriver into one of the notches, and use a hammer to gently tap it. The piston-retaining ring will come loose.
Now, pull out the piston by simply unscrewing the top. You can also take this opportunity to remove the bolt that fell to the bottom of the cylinder earlier.
Replacing the Seals
Once you have finished disassembling the cylinder, you can easily replace old seals with new ones. All you have to do is remove the retaining ring with a retaining ring remover tool. Then, take off the older seals and discard them.
Next, slide the new seals onto the cylinder and return the retaining ring to its original place.
That’s it. You just replaced the seals on the B-10 Utility Press.
Changing the Return Spring
If you have noticed that your return spring hasn’t been working properly or that it has been stretched from overuse, you can change it out for a new one.
You will need a 3-mm wrench with a long T-handle to insert down into the center of the spring. You should be able to feel when the wrench catches ahold of the bolt. Next, simply unscrew the bolt and remove the spring.
Once the old spring is out, you can replace it with a new spring by using the same technique in reverse.
Assembling the Cylinder with New Parts
Now that you have replaced the old seals and spring with new ones, it’s time to reassemble the cylinder. You want to make sure that you use grease as a lubricant on the seals before attempting to reinsert the pieces. This will prevent the lip from catching on anything during reinsertion.
Reassembling the cylinder is the trickiest part of this process. You need to get the spring mechanism back inside the cylinder while also pulling the spring up and replacing the bolt that you removed earlier. The bolt is required for tension.
To do this, you can use electrical wire and thread it through the end of the spring. Be sure to pull both ends to an equal length, and use tape to secure the ends of the electrical wire together. Straighten the wire, and feed it through the cylinder. It should come out the other end of the cylinder at the gauge port.
Ensure that everything goes something by lining up the spring with the hole on the side of the cylinder. This alignment will make it easier to insert the bolt. Once the spring is back inside the cylinder, screw in the retainer securely.
Now, it’s time to use the 3-mm long T-wrench to replace the spring-retaining bolt. Place the bolt on the end of the T-wrench, and use tape to secure it. This will allow you to keep a hand free during the process.
Next, grab the electrical wire and clamp a large portion of it into a vise. Pull on it until the spring aligns with the threads for the bolt.
Then, insert the bolt using the T-wrench and tighten it as much as possible. Now, the spring is engaged, and everything should be functioning normally. The only thing left to do is to remove the electrical wire. Simply grab one end and pull.
Reattach the gauge and coupling to the cylinder, and you can now get this repaired piece back onto the B-10 Utility Press.
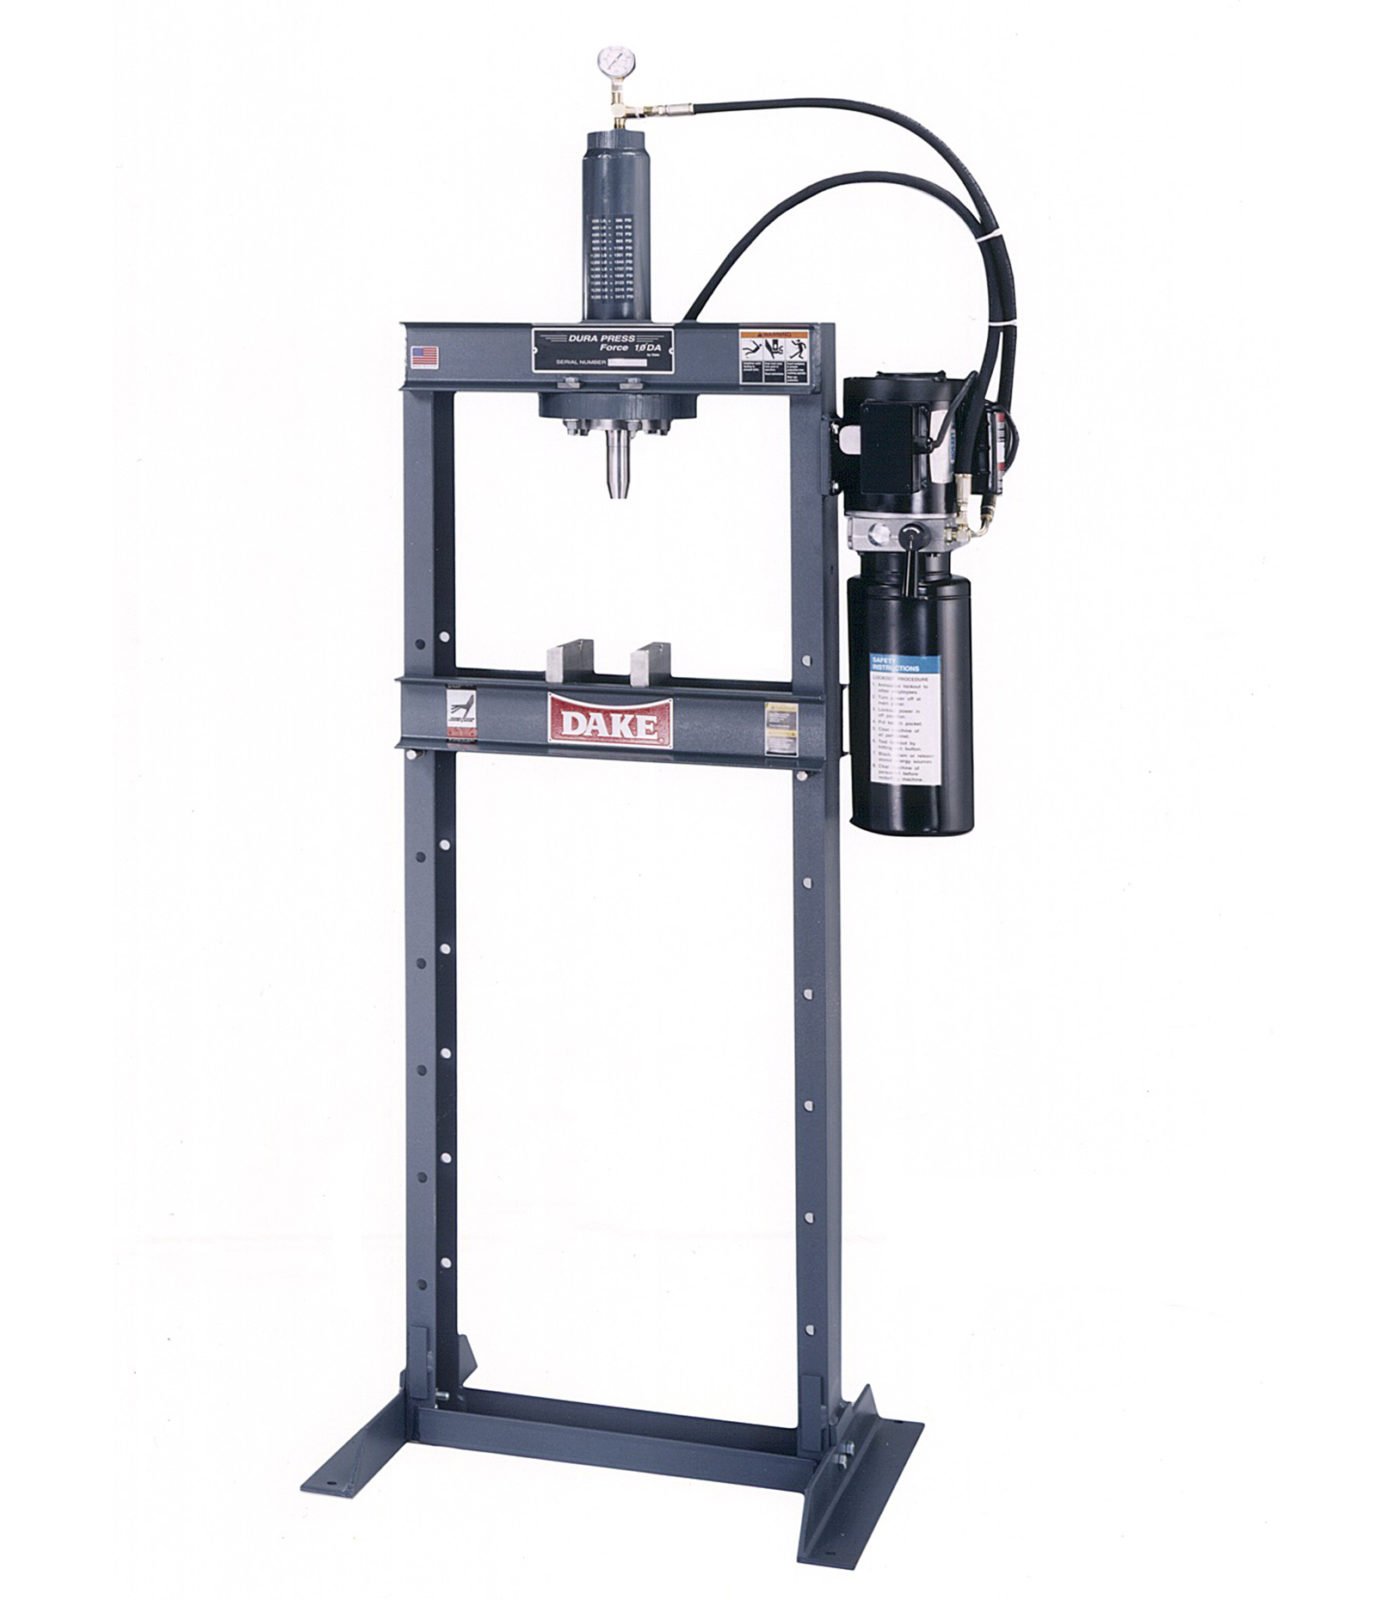
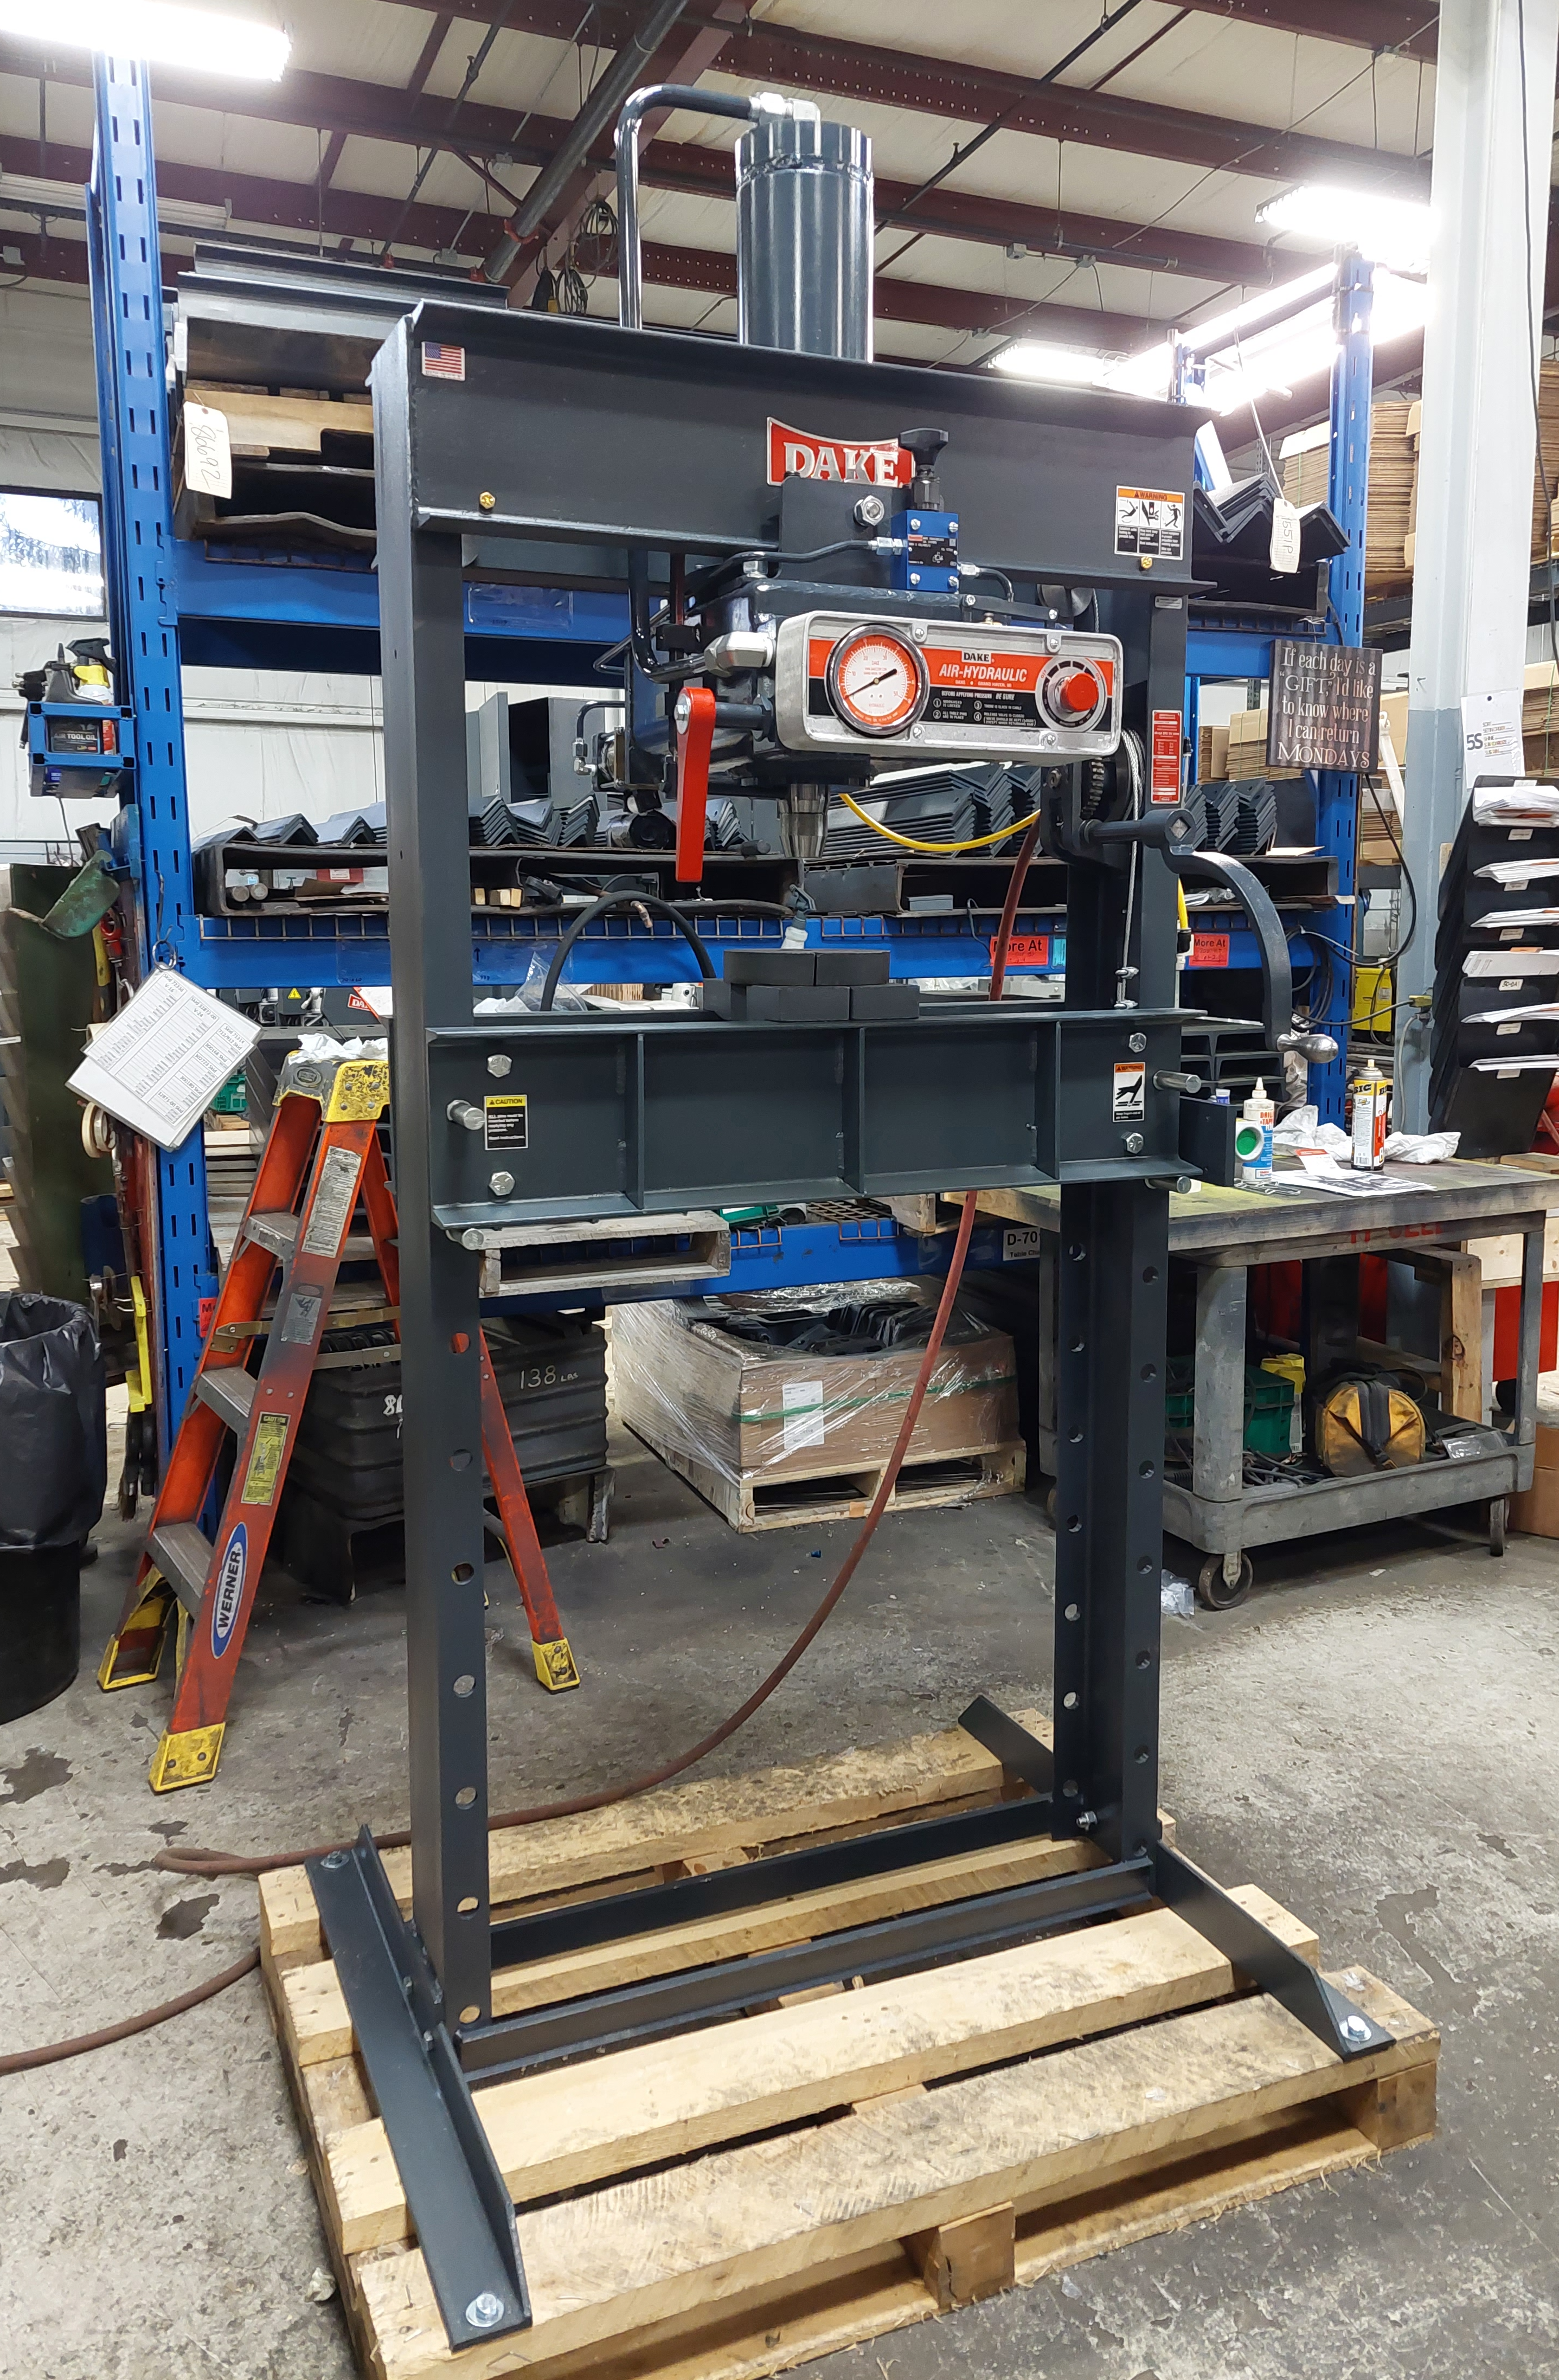
Dake Hydraulic Presses
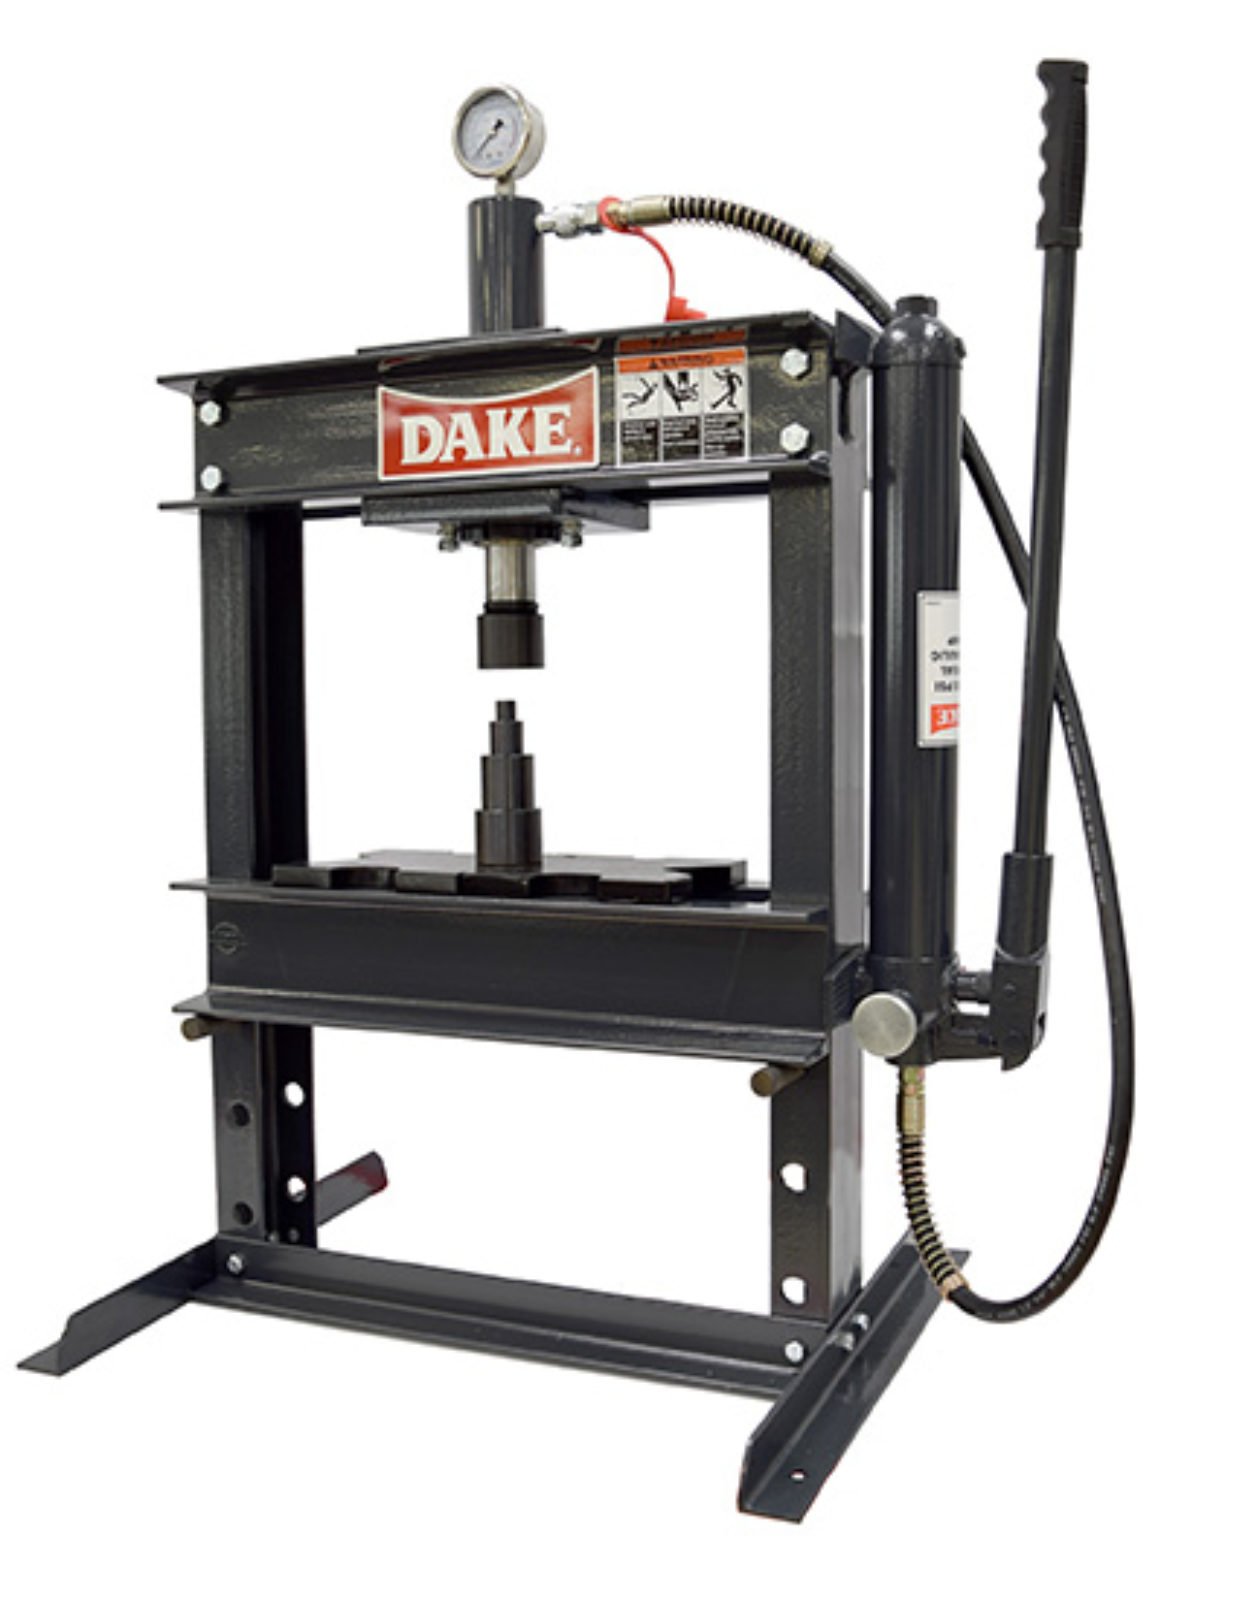
Here at Dake, we offer a wide selection of various hydraulic presses. The model we covered in this article is the model B-10 Utility Press, which is small, durable, and very efficient for metalworking projects.
This particular machine is a 10-ton bench press that includes a manual, table plates, and a gauge. The easy-to-read gauge is one of the main features on this machine because it reads in tons and monitors the psi of pressure. Take a look at some of our other hydraulic presses here.
Learning with Dake
We love sharing our knowledge and passion for metalworking with our customers. Our experts have put together a video series explains how to assemble, maintain, and repair many of our most popular metalworking machines. You can browse through our handy video library.
If you have other questions about our products or services, feel free to get in touch with us.