-1.jpg?width=1200&height=525&name=DAKE003_%20Logos_Red%20(002)-1.jpg "dake corp")
Even though drill presses are one of the simplest metalworking machines to use, sometimes metalworkers run into issues when drilling cross-holes or through-holes.
If you are a machinist who has faced problems such as chipping, burring, or overall inaccuracy, our experts here at Dake have a few pointers for you.
Identify the Problem
Every machinist wants a clean-cut hole to be the result of working with a drill press. The main benefit of using a drill press instead of a hand-held power drill is precision.
The drill press should be giving you accurate, clean holes every time without fail. However, a few problems can arise that can lead to messy drill holes.
If your cross-holes and interrupted-holes aren’t coming out clean, the first thing you need to do is identify the problem.
- Is the corner of the drill chipping?
- Are exit burrs forming?
- Is the hole not the correct size or shape?
If you answered yes to any of these questions, then you have a problem creating cross-holes. However, there are a few best practices and tool strategies that can help cut down on these issues and bring the quality of your drilled holes back up.
Pick the Right Drill
Issues like chipping, burring, and inaccuracy tend to arise when the wrong drill is being used. We recommend a double-margin drill for optimized stability and minimal interruption. Double-margin drills have four points of contact that are evenly spaced out.
This allows for a more effective guide during the drilling process. A single-margin drill only has two points of contact, which leaves more room for error.
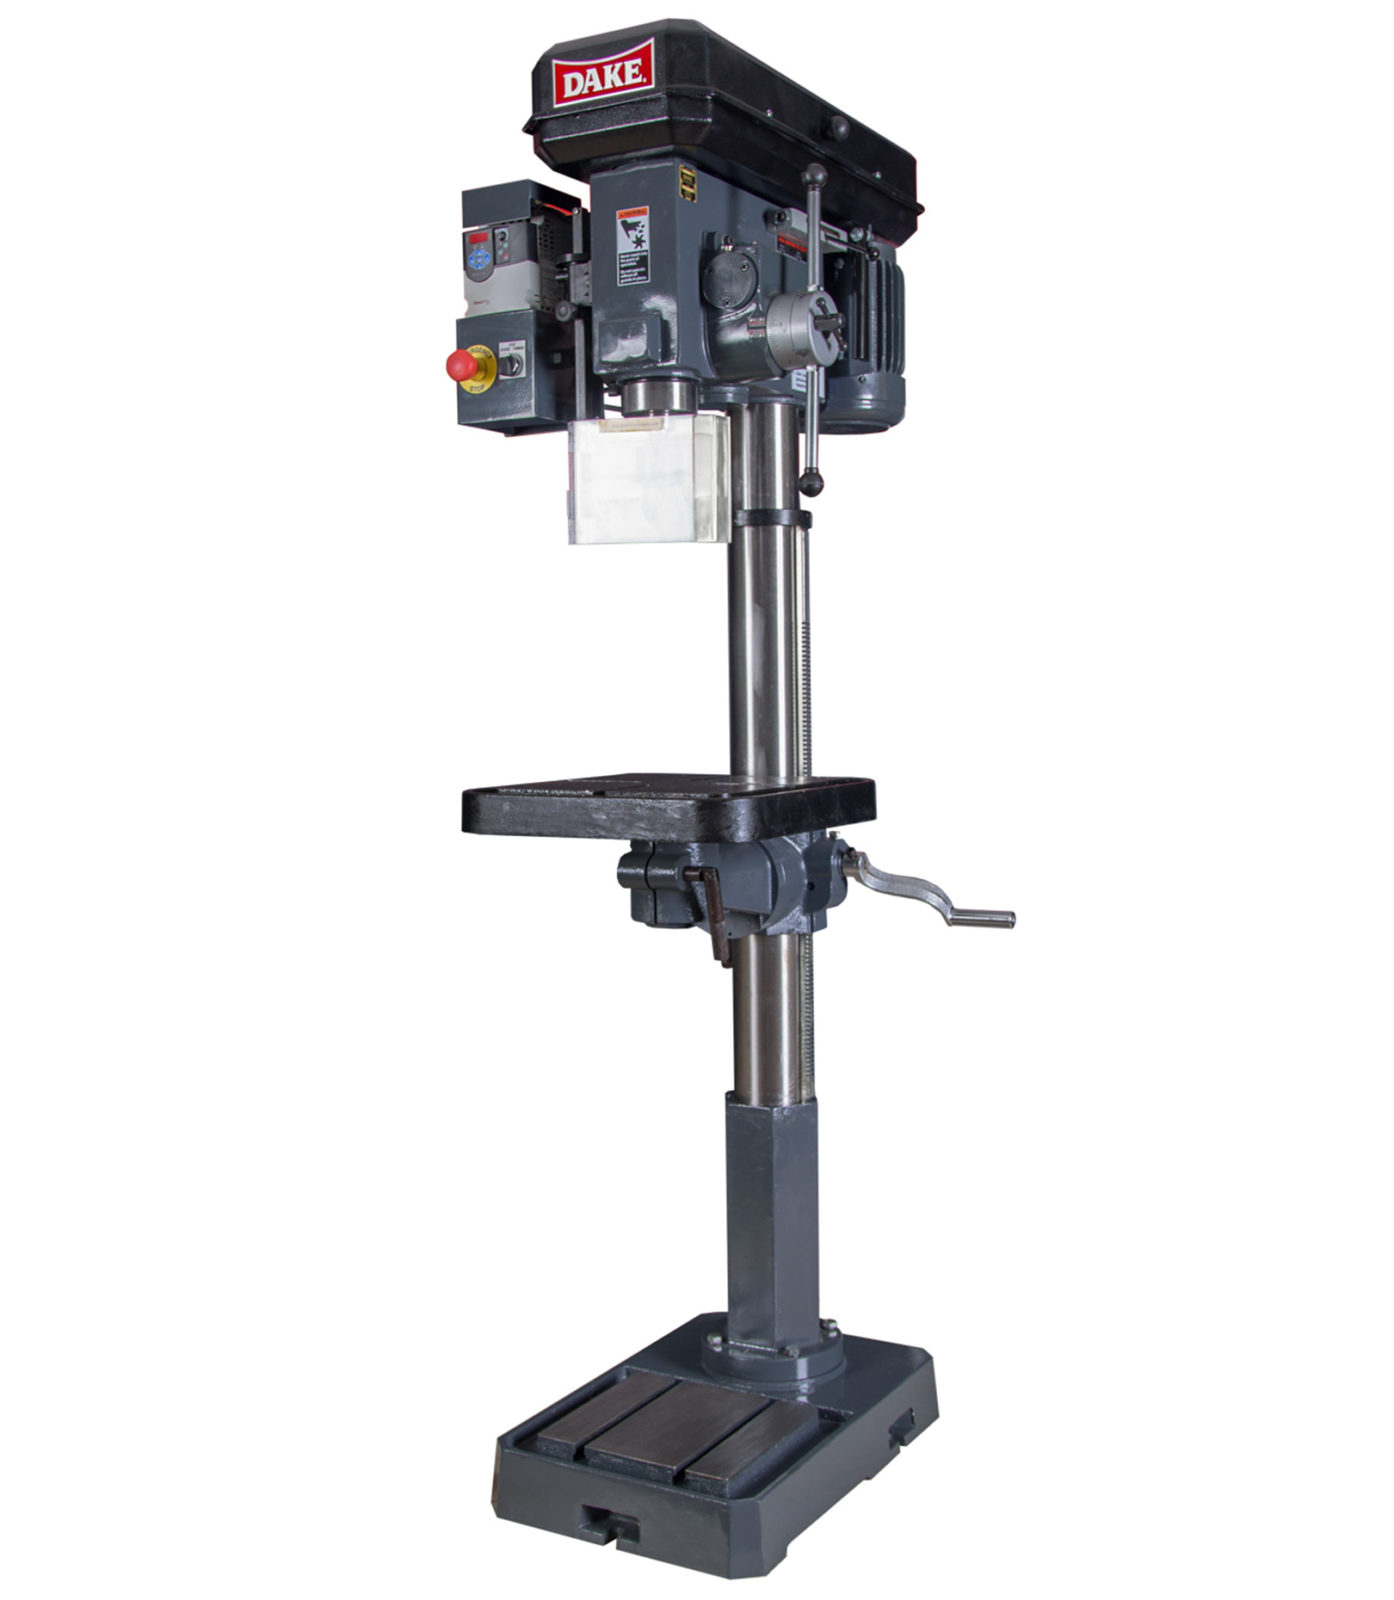
Luckily, our drill presses here at Dake allow for drill bit changes. You can easily switch out the drill bit with a standard Morse Taper (MT), standard keyed chuck, or common adaptors.
Set the Parameters
In order to keep exit burrs at a minimum, you need to reduce the drill’s feed during the drilling process. This technique is also practical for drilling through metal surfaces from the opposite side of a cross-hole. Increasing stability and decreasing deflection, this tool strategy will reduce the chip load and minimize the cutting forces against the drill.
Drilling clean-cut holes requires stability above all other things. Stability helps to prevent chipping and damage to the drill. It also allows you to create neat, concentric holes. This is why all of the Dake bench model and floor model drill presses are built on sturdy, cast iron bases to minimize vibrations and improve the overall stability.
Another best practice is to use an end mill or flat-bottomed drill to engrave a “spot face” into the metal surface. Doing this will flatten to the surface, allowing the drill to properly engage with the metal. Additionally, this process can also help preserve the lifespan of the drill.
Adjust for Depth
If you want to drill deeper holes, you’ll have to make some crucial adjustments for accuracy and the sake of your drill. Let’s look at a few scenarios of drilling deeper holes.
You need to have a straight guide hole in order to execute a deep-drilling application with a long drill bit. The guide hole will keep the drill bit straight, and it should measure about 0.1 mm larger in diameter than the final hole you’re trying to create.
The point angle of the guide drill bit needs to be the same or more than the point angle of the long drill bit. Making sure that you don’t skip this step will ensure accurate hole alignment.
Here’s an example of what will happen if the guide drill bit has a point angle that is smaller than the long drill bit. Using a 120° point angle guide drill bit with a 140° long drill bit will result in the middle of the drill bit’s cutting edge engaging with the metal first as opposed to the drill bit’s point.
The result of this improper depth adjust will be chipping, misalignment, and it may even cause the drill bit to break. You can avoid all of these issues by making sure that your point angle is appropriate for the type of hole you’re looking to drill.
If you are using a shorter drill bit, you will need to minimize the overhang as much as possible. Using a smaller drill bit with a long overhang may result in the tool breaking. This is due to a loss of rigidity.
Maintain the Temperature
As with any metalworking machine, maintaining a lower temperature is essential for the best possible results. If you are working on drilling deep holes, you need to have an efficient cooling system in place to prevent overheating.
Our drill presses here at Dake all come with a standard CE safety electrical package. Included in this package are the following features: a push-button on/off switch, an emergency stop button, an interlock safety switch for the belt cover, low voltage controls, and protection against thermal overload.
The reason behind maintaining a low temperature is due to the materials that you are working with. If the drill overheats, it could cause reaming or tapping issues with metals such as stainless-steel and nickel-based alloys.
A Few More Tips
A few other tips to keep in mind during drilling are to use proper tool geometry, double and triple check your parameters, and identify issues straightaway.
If you do all of these things, you will save yourself from the headache of burred, chipped, or misshapen holes.
There’s no need to be intimidated by the drilling process of cross-holes or through-holes. If you follow the steps mentioned above, you should be creating perfect holes in no time.
Get in Touch
Do you have more questions about our bench model or floor model drill presses? Fill out our simple online contact form, and one of our customer service representatives will get in touch with you shortly to answer those questions.
.jpg)